Customized Facial Treatment + Eye Treatment with Le Queenz

18 June 2018

Self-care is a divine responsibility 

Disclaimer: 
- All pictures during the procedure are un-filtered and un-edited
- This is solely based on my personal experience as a first-time customer 

HOLA friends. So recently, you must have seen my Instagram stories about a painless facial treatment I went for. I adore facials as it's very important to clear our clogged pores caused by makeup, sweat, oil and dead skin cells. Can you also imagine how much bacteria are on our face because of all the sponges, brushes and "clean" hands exposed to our faces everyday? Getting all these gunk off from our faces allows our skin to breathe better! Moreover, facial provides us with the adequate hydration our skin cries for! So, I'm going to tell you more about it just so that you could have this Customized Facial Treatment Massage + Eye Treatment ONLY AT $50 NETT (U.P $200). No hidden costs, no hard-selling and no disappointments.  


First, here are some things you should know about Le Queenz:

1) They are located at Fortune Centre. Do not get confused as they were previously located at Tanjong Pagar
2) They also provide Eyebrow Embroidery services 
3) Germany’s No.1 Skincare Babor products are used in their sessions 
4) Their extractions are PAINLESS

Below are the steps of their 90 minutes facial (also suitable for sensitive skin):

Step 1 Removal of Makeup using Milk Cleanser

I already felt like sleeping within the first three minutes when her gentle hands touched my face 😂

Step 2 Double cleanse using Foam Cleanser

Oh, this was SO gentle for the skin! I absolutely love foam as it is great for oily and acne-prone skin types (mine's quite oily) since they are meant to deep cleanse the skin by getting rid of excess oil and sebum, as well as work to uproot any debris stuck in your pores, helping to keep your skin clean and refreshed.


Step 3 Enzyme peeling to remove dead skin cells and brighten your skin

This helps to prepare the skin for the extraction and dissolves any impurities on your skin.


Step 4 Using an equipment to gently remove impurities from the skin + blackheads extraction

This really won my heart! I was mentally preparing myself for the pain (I have low tolerance!) but this was done in a jiffy and I was like "are you guys going to do the extraction?" and the beautician, Elaine, laughed and said, "yes it is done". I was pretty shocked because I never thought extraction could be this soothing and calming?! She then showed me the impurities she got from the machine. Goodness me, it was really obvious in real-life (the white stuff).


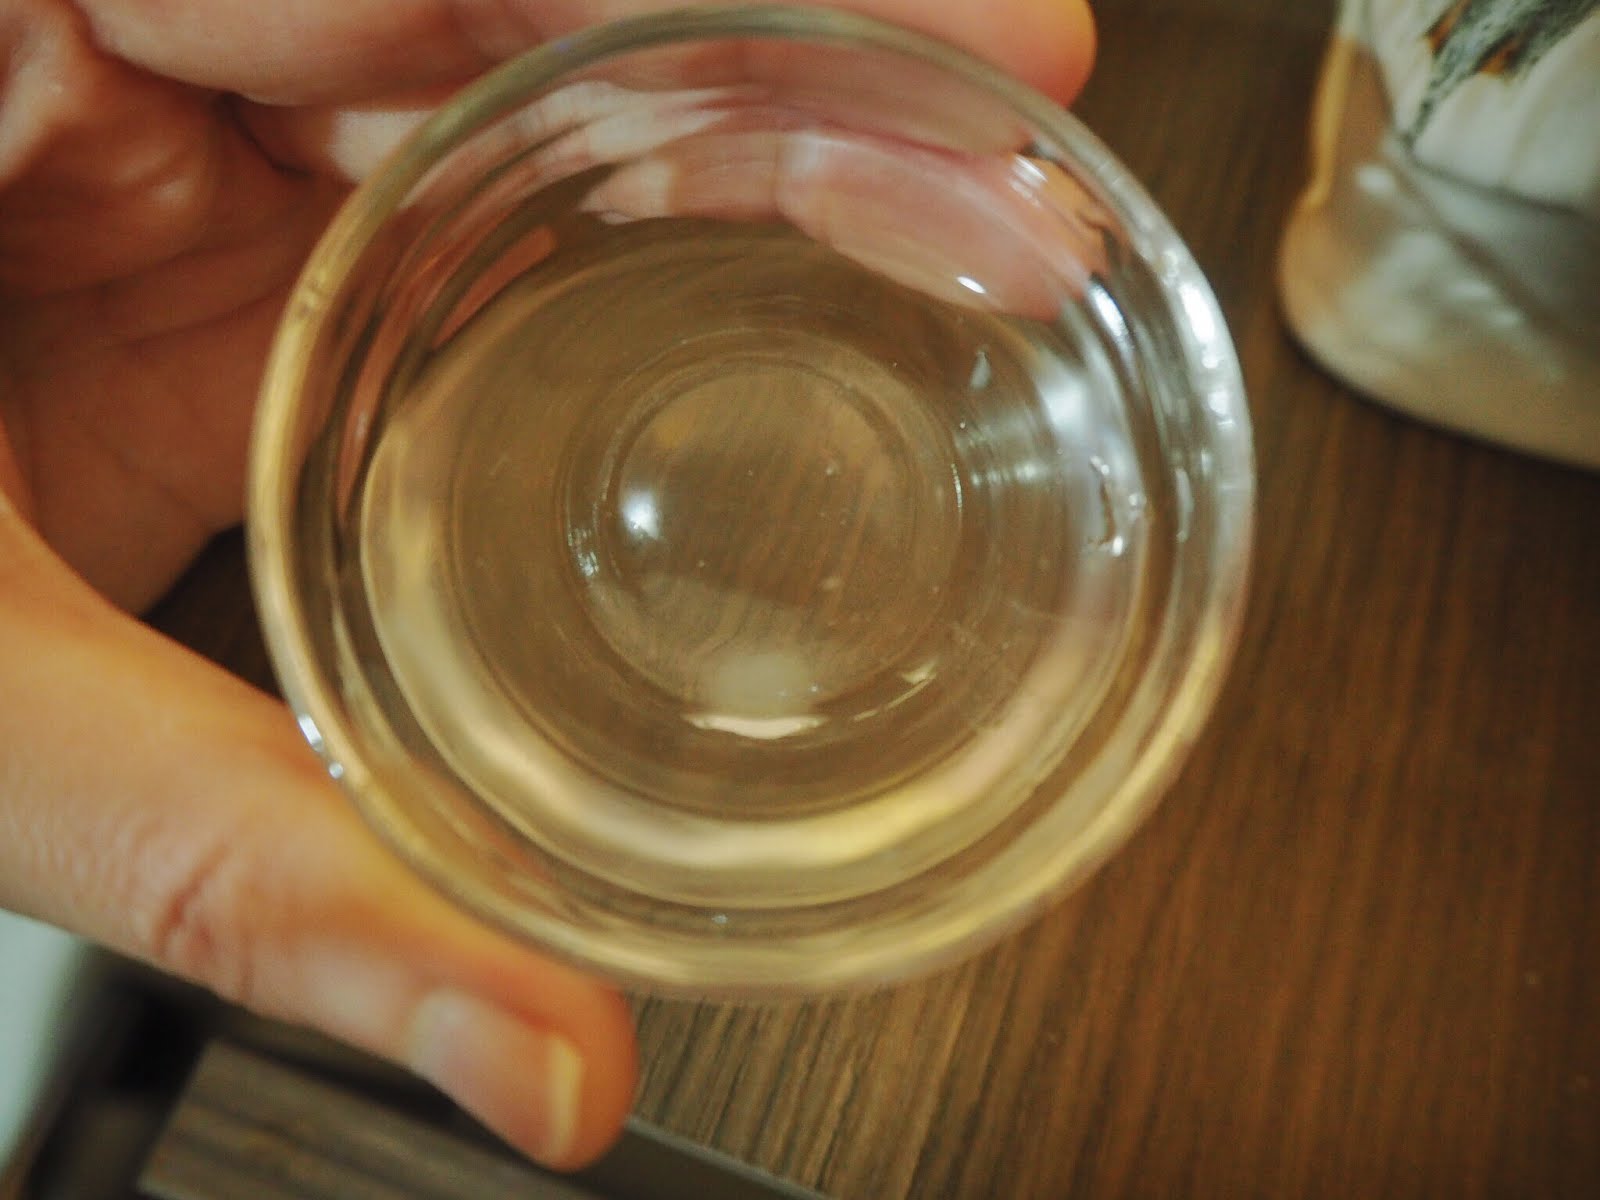
Step 5 Usage of Babor’s beauty ampoule (Elaine used an Oxygen Plus ampoule on me)

I almost slept off here as she massaged that ampoule into my skin! She chose this one for me as my skin looked dull and uneven. Oxygens fluids are great for stressed skin and give off a more radiant looking and revitalized skin!

Step 6 Face and Eye Massage

Totally slept of here. I love eye massages as it really removes all the under-eye puffiness and eye circles due to the blood-circulation activated by the massage. It also reduces eye-fatigue! It also weirdly makes my eyes feel more refreshed and moist. Being a daily contact lens user, dry eyes is definitely my issue.

Step 7 Application of customized mask (Elaine customized the mask mix according to my skin condition)


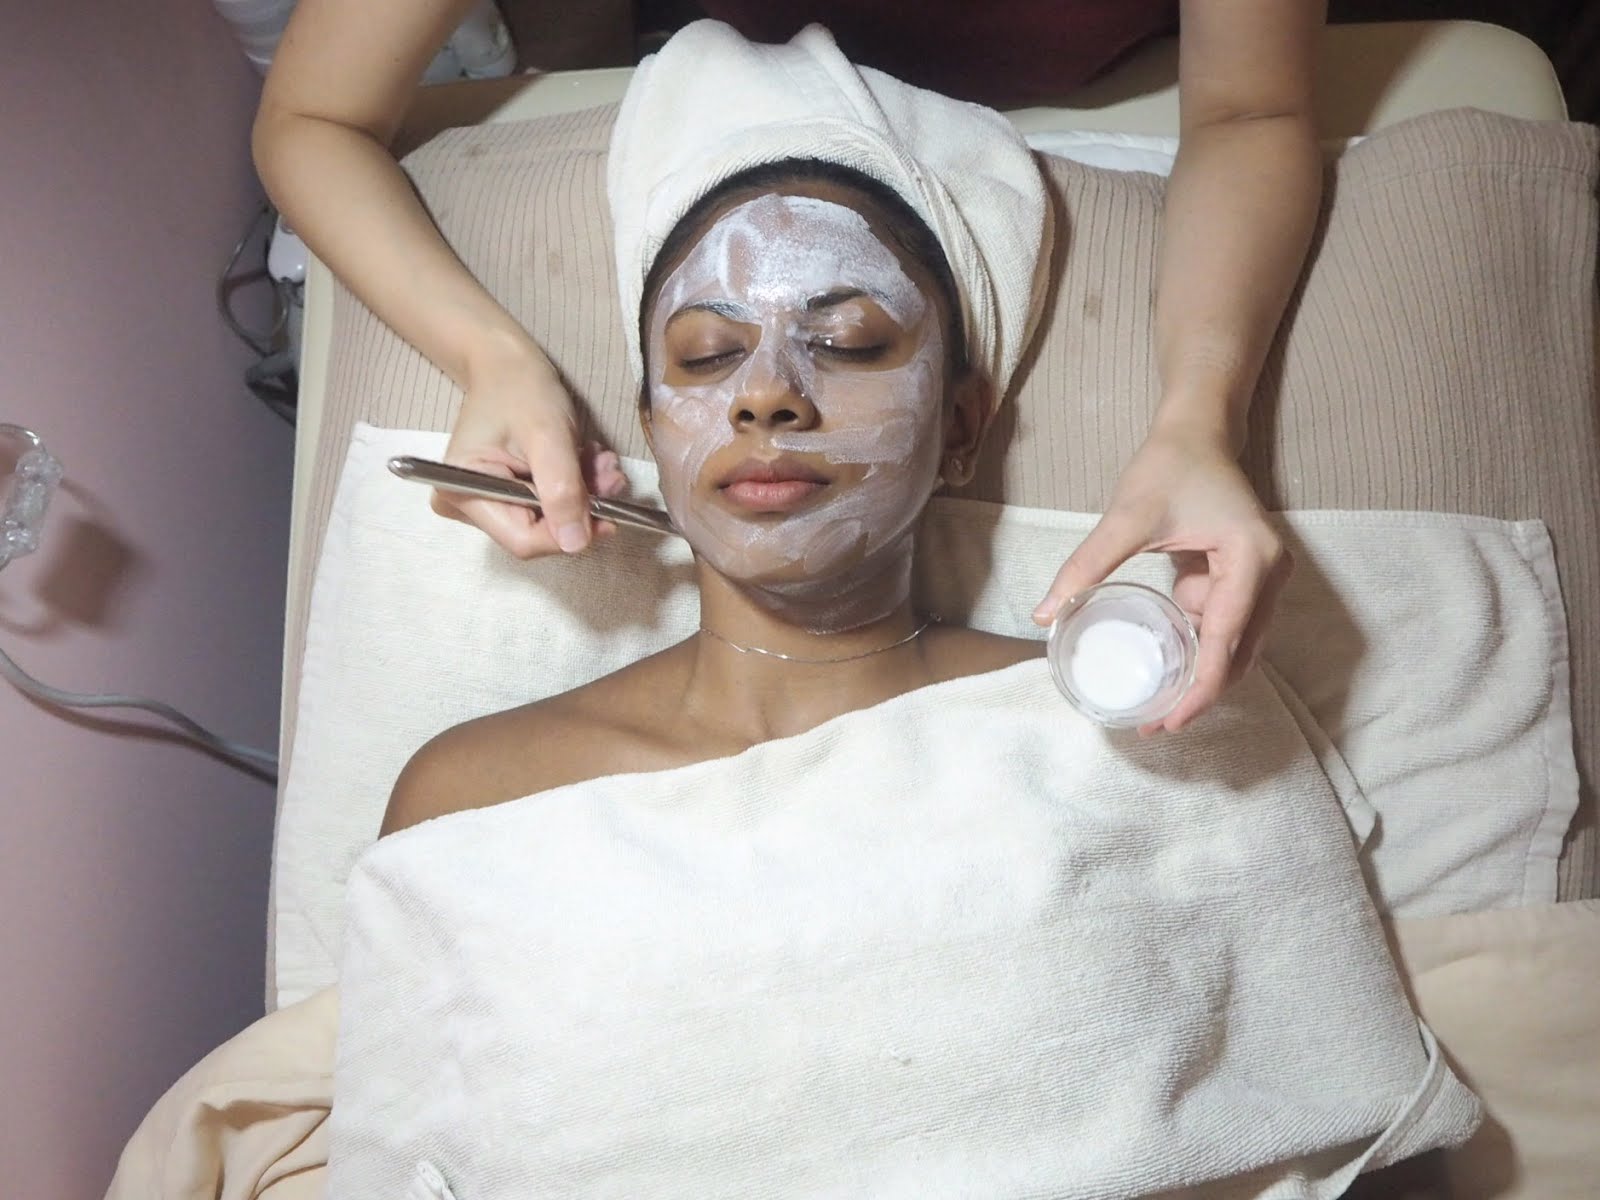
Do I even have to describe the feeling of something brushing on your skin? Heavenly...


Step 8 Basic Care to complete the treatment 


Final thoughts:

No pain, no pinch marks, redness, scars and squeeze marks. I did not have to "hide" my face by wearing shades and run home as well! - Yes, I do that after most facial sessions. My face was definitely more radiant, brighter and looked healthy! It was so soft and supple as well! Suddenly, it looked like I had the best make-up skills when I applied my foundation and base make-up, LOL. Yay to brighter and radiant skin! Check it out for only $50 when you mention my name! Go be beautiful!


190 Middle Road
#02-11, Fortune Centre, S188979 

Tel: 6244 0228 / 8533 2336
Fax: 6244 0241
Email: corporate@lequeenz.com

Desert Roses, Singapore - Belly Fit

22 March 2018


Heyya! Back from a long hiatus from blogging because I have been pre-occupied with many things and events lately! But I guess that is not a valid excuse after all... Anyway, I am going to share with you something that I have tried recently! 

Belly dancing has always attracted me and since I was young. You know, those sexy girls, shiny bras, shimmy shimmies on the waists and Shakira hips. 


I am so glad that I came across Desert Roses! They even have a FREE TRIAL (which I went for) for you people who are unsure about taking up this class/skill. Even though you might have a rigid body, or might be a newbie to dance, fret not. The instructor, Dan Dan, will make you feel extremely welcomed and loved! I was also shocked to find out how much belly dancing could help in losing weight, toning and building muscles.


Desert Roses is conveniently located near Chinatown MRT. Before going to their classes, they will actually SMS you the exact location and guide you through a series of directions (efficient much)! Their studio is on the third level. Pretty accessible. I am going to explain more about the class with visuals... so enjoy!


This is the first thing you see as you enter their studio

I really loved the ambiance of the studio - bright, well-lit, aesthetic and spacious

For trials, they would provide a crop top, skirt and hip scarf. It was surely comfortable and secretly wished they told me to keep it 🤣


We started off with some stretching after changing and hydrating ourselves

READY to be a fitspo! *laughs*

Her stretching got my jaws dropping!


Dan Dan came to us one by one making sure to correct our postures and techniques during stretching and during the dance itself!


Fun fun fun


 Isn't she good?!

And.. we are done! I was perspiring by the end of the class and it really felt good. Never thought that belly dancing would be this tiring! It was fun though! Music was good, the class size was just perfect and the ambiance along with Dan Dan made me feel so comfortable baring my belly (belly..literally) and shaking to the beats I had fun listening to!

Desert Roses also have other elements of fun like dance, ballet, makeup, and yoga. You should try! It is free anyway!


____________________________________________________________________

For more information:

Address:
Upper Cross Dance Studio - 22B Upper Cross Street, Singapore, 058334
Temple Yoga Studio - 49B Temple Street, Singapore, 058594

Telephone: 97523028 (For a free trial class, please book through WhatsApp/SMS)

Website: http://www.desertrosesbellydance.com/

Facebook: Desert Roses Yoga Dance 新加坡沙漠玫瑰舞蹈瑜伽

E-mail: mildlily@yahoo.com


Updates x Shopping Tips

4 December 2017

Update:

The past month was pretty hectic due to finals and commitments with friends, family, and work. I was also busy falling sick every other day! Two weeks before my finals, I was down with tonsillitis. It was such a horrible experience. I felt as though someone was strangling me 24/7. This was also paired with fever, cough, and flu that lasted a week. That was not the worst... here comes the worst... ALLERGY. So, I never had any allergies since I was young. And this time, probably the mixture of all the medicines caused me to have a really bad allergic reaction. My face, arms and neck (even head) were filled with tiny little bumps that were red! It was the biggest nightmare of my life. It looked like those tiny white pimples and I swear I freaked out. I tried all sorts of methods to "cool my face" down and thankfully it was gone 2 days before finals. 


Studying was really hard during that period as all I wanted to do is to curl myself up in a blanket because of my fever and painful throat/ears and body. I was freaking out because these were modules I had no interest in (basic year 1 modules). Can you imagine my situation... I am glad it is all over though! Hopefully, I can pass 3 out of 4 of my papers. The last one was just...bad... It was History. I probably flunked that. But I hope that the bell curve (if there is) would do some magic *fingers crossed*.

Anyway, some highlights:

Shoots: I recently did a creative shoot. It was my first time and indeed VERY interesting. Being someone who isn't so expressive (in terms of facial expressions) I struggled a little but the end results were amazing! I cannot wait to receive the pictures! My face was also painted in different ways and I am glad I could choose those patterns. Funny thing, I actually dozed off when the make up artist was brushing my face with face paint! It was SO therapeutic! Also did a shoot for Angakara again and this time it was fun because it was studio-based (so no sweating and walking around in heels) and the theme was pretty cool! It was more of a "sultry" feel (Okay not exactly but I can't find a better word to describe it). It was new to me and I loved it. Red lights and dimmed whites... it was fun! Another shoot was for V2 and it was nice being in Sarees. I was and is never the kind of saree girl, so having a shoot with it was really a different feel. I really admire women who dorn those almost every day. I really struggled..

Winter Wonderland: Headed to Gardens by the Bay for the second Winter Wonderland and this time, Aarul and I went on the second day! So, the crowd was definitely much better as compared to last year where we could barely walk! We also realized that the prices in terms of food, ticketing (carnival games, ice-skating and circus) were relatively cheaper and more affordable. Last year's prices were insane. The circus was pretty amazing (only $12). I also got picked out randomly to go up to the stage. It was so embarrassing but definitely a good experience! I would advise those who wants to go to bring a mat! You could have a nice meal on a grass patch with fairy lights and choir. Oh yes, also, Aarul won me a bunny! It was damn cute. It was just like the jelly cat.

Birthday: Extremely thankful to my friends and family for making my 21st yet another amazing one x


Anyways, some people have identified my thrifty habbits (even though I splurge a lot on my cheat days) so I am just going to mention some tips that have helped me!

$$ SHOPPING TIPS $$

1) Restock during sales - I am basically a queen in this. So whenever there is a Sephora, Guardian/Watsons or any kind of essential sale, I would buy whatever I need, be it make-up, skin care products or shampoos/personal stuffs. Even if I still can use my existing product for another month, I will still do restocks. As you know, Sephora sales don't come in often! Even when Sand and Sky had their Cyber Monday sales, I bought my second bottle (when I was not done with the first one)! So yes..RESTOCK!

2) External platforms - Instead of buying your clothes/shoes on the main website of the brand's, try using external sources like Zalora//Deja/ Ezbuy/Lazada/Carousell etc to find what you need. Sometimes you find the same item at a cheaper price because of the discounts these platforms ALWAYS offer. Or else, you could find similar pieces at way cheaper prices.  For instance, instead of buying my make up remover from Innisfree itself, I would purchase it on Ezbuy for half the price (of course you gotta scout for reliable sellers who sell them in its authentic form).

3) Buy your basics from fleas - I am not someone who likes to wear basics so if I have to purchase them, I always get them at reputable flea markets which offer brand new items! Prices are way affordable for sure.

4) Sign up - Before you shop online, always sign up to their newsletters. Most of the time, there is always a "10%-20%" off your purchases promotion! Why not! (*coughs* who says you can't have more than one e-mail *coughs*).


Hope this helps! Till next time!
XOXO, Aish

Make-up Routine

31 October 2017

The past week was pretty cray with assignments and attachments. I am so glad to have completed the last assignment for the year! Hoorah! But... it also means that exams are approaching soon. I can't wait for the holidays!

Also feeling bummed that Aarul is overseas for training.. I miss him so much and I can't wait to have him back in my arms! My weekends were always catered to and for him since he is only back during the weekends (often on Friday nights, sometimes on Saturdays and twice or thrice on Sundays). A lot of people have been interested in the topic of me and my boyfriend, so I plan to write stuff on "how to cope with your other half who is in NS/ is a regular " (because this just goes beyond 'waiting to see them' and there have been so many problems couples face because of this phase) or even tell you guys how we met!

Thank you for all your love towards us <3


Some of you have kindly asked me to share with you guys about my make-up routine through a video BUT I am not comfortable with that because I am not an expert in this matter. I also think that v-logging takes a lot of commitment and I am not ready for that. Hence, I am going to share with you about the products I use here.

Disclaimer: I have combination to oily skin and holla at my brown girls, this might be more relevant to you.

Moisturizer: Caudalie Vinosource Moisturizing Matifying Fluid ($48) 
You can get this at Sephora. This is a cream that moisturizes dehydrated and sensitive skin. So if you are worried about breakouts, fret not. It also softens, soothes the face. After applying it, your face will look and feel matte and it blurs out imperfections to a certain extent. I love this because it controls my oil and does not get greasy at all!


Primer: Stila One Step Correct ($40-$50) and MAC Prep+Prime (around $60). 
I cannot remember the prices, hence the range because MAC Singapore does not display their prices online and the Stila corrector cannot be found online too (in-store only). So I love the Stila One Step Correct because it eliminates my redness (I usually get redness on my forehead and cheeks) and somehow it lightens my dark circles and evens out my t-zone. However, it is a little dry upon application so I mix it with the MAC prep+prime (mainly for the radiance). This product is oil-free and really does what it says! It is in a gel form and contains vitamins and anti-oxidants as well!


Eye cream: Clinique Pep-Start Eye Cream ($50)
Yes, that is hefty for an eye cream but hear me out. This lasts FOREVER. It is only 15ml but has lasted me for about 9 months now! You only need very little product because it is that moisturizing. I used to have really bad dark eye circles and I can say this has helped me out. I use a high-coverage concealer but my under eyes never ever dry out!


Corrector: Bobbi Brown Creamy Corrector ($49)
I feel that there might be dupes of this product selling at lower prices with larger quantity but I have yet to explore those as this is my first. You can find this in Bobbi Brown or certain Tangs outlet. I have no complaints about this. It reduces my darkness under my eyes dramatically! But one note, you have to apply this with a brush and use your hands for the best results (at least for me)!


Foundation: Fenty Beauty Pro Filt'r Soft Matte Longwear Foundation ($50)
I rarely use foundation because it's thick and sticky and just 'extra'. But I found myself buying this because it was just so light! It is so matte and smooth! I love how light and natural it is!


Concealer: NARS Soft Matte Complete Concealer ($46)
Pretty affordable for 6g of product. However, this comes in a pot, so scooping it and getting the right amount out needs a little practice. I have been using this for about 3 months now and I still am working on it, haha. This has great coverage and I love it! I doubt I will change to any other concealers... at least for now. I used to use the MAC pro-longwear concealer but it was a shade too dark. Tried a shade lighter and it got too light. The MAC one was great as well but felt a little heavy. I prefer using a concealer all over my face (ok maybe just around the t-zones) so I would prefer a lighter one. Hence, the NARS comes in handy! It is also very natural on the face! You can get this at Sephora!


Make-up powder: MAC Studio Fix ($40-$50)
I swear by this. I will never ever change this routine. This powder feels extremely light yet provides a good coverage. It does not streak nor cake-up. It provides a matte-finish and I just don't know what to say... I SWEAR BY THIS. I think its about 40ish for this and it lasted me about 5-6 months for one (light usage). You can find this easily at MAC/Isetan outlets.


Setting Powder: Laura Mercier - Loose Setting Powder ($70)

Of course! This needs no description. This is one of the best setting powder recommended by most make-up artists! It is pricey but worth it for its quantity. Mine lasted me for about 6 months? I have about 20% of product left!


Brows: Etude Drawing Eye Brow ($7-&9) and Anastasia Beverly Hills Pomade ($40-$50)
I usually buy a few at once so I can't remeber the exact price of the brow pencil. They also have the one with a blending brush (good for first-timers). It glides easily on the brows and is not too pigmented, hence easier to control. Although it is good, I have been wanting to try the Anastasia Beverly Hills Eyebrow Pomade and have just bought it today! I can't wait to switch over! You can get it from their website since Singapore does not have it yet! Or try Lazada if you trust their product. I am not sure if it is 100% authentic though. Never tried.


Eyeshadow: Urban Decay Naked Heat Palette ($83) 
I have been using this for a month now and I used to use Etude House/Nyx Ombre Blush as my eyeshadow too. I love the heat palette because it has subtle yet lightly strong colours. It is great on dark skin and blends easily.


Mascara: Too Faced Better Than Sex ($35) and Tarte Light Camera ActioLights, Camera, Lashes 4-in-1 Mascara ($33)
I love my eyelashes to be clumpy, hence this serves as the best choice for me! Also, this is easily removable by make-up removers! This product dries pretty fast too! However, this makes my eyelashes "drop" after a while, so to just lift it up, after a coat of this, I apply the Tarte mascara. The Tarte mascara also helps to "separate my lashes" to create a more sparse effect (if you get what I mean..). This is also easily removable! My mascara routine may seem troublesome but it really is not! Just one coat each, and B O O M. 


Eyeliner: Maybelline Hypersharp Power Black Liner ($22.90)
This is my holy grail! This is super matte black. It comes with a brush tip, allowing easy control! It has a sharp precision to it and it is just so easy to use! It is really the best. Does not ever smudge because it dries so fast. I have like 3-4 of them right now (because I was kiasu during the sales). But I buy mine in Malaysia because Maybelline there is cheap! It is only retailing at RM19-21 (SGD $6-7) at Sasa or Watsons! RUN!


Contour and Highlighter: Fenty Match Stix ($37 each)
My favourite from the Fenty range gotta be these babies. It is extremely easy to use. These highlighters are not the extreme ones so its great for school, work and every-day use! I use the blonde and rum for the highlighters and truffle for the contour!


Setting spray: NYX Matte Setting Spray ($18)
I just started using this about a month back. Not a fan of this because I do not like the spray function but it works just fine! It allows my make up to last at least 3-4hour longer!  I am just using it to finish it up. I am intending to switch over to Urban Decay, which I have heard good reviews about!


Lip: Sephora Cream Lip Satin, MAC, Tarte - Tarteist™ Quick Dry Matte Lip Paint, NYX Liquid Suede Cream Lipstick ($19-$40)
I am always mixing the colours but these brands are my favourite when it comes to lips! Tarte's applicators are the best! So precise! Sephora, on the other hand, glides easily and is super moisturizing!


Aaaaand that is all! Thank you for reading up till here! Will upload a skincare routine soon! x 

XOXO, Aish


Latest Instagrams

© Aishx. Design by FCD.